

x
Type in what your trying to find.
Type in what your trying to find.
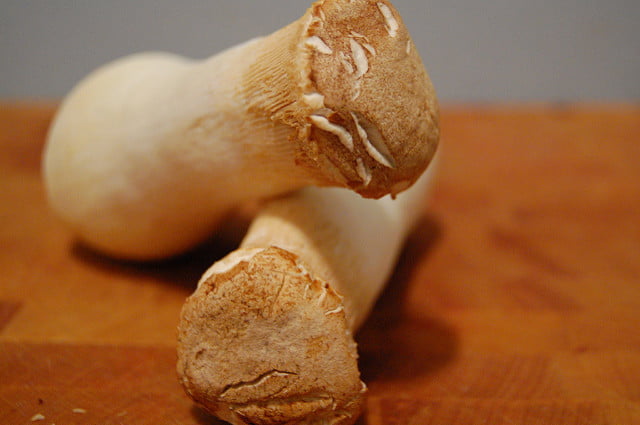
Did you know that mushrooms are the only natural source of vitamin D in the produce aisle of your supermarket? And that only 100g (3½oz) of mushrooms has more dietary fibre than the same weight of celery or a slice of wholemeal bread? I have grown white button mushrooms in the past and, having seen different varieties being grown in Europe, I snapped up a mushroom pack of King Oyster Mushrooms (Pleurotus eryngii) from the local markets. This is sold as a bag about 5cm (2″) diameter and 20 cm (8″) high.

King oyster mushroom Pleurotus eryngii Photo H. Krisp
Your oyster mushroom grow bag has a cleaned straw and sawdust substrate that’s been pre-inoculated with your chosen variety of mushroom spawn. What is mushroom spawn? It’s that white filamentous growth used for starting mushrooms.
When you get your mushroom bag or kit this is what you need to do. Keep it in a dark place – it doesn’t have to be pitch dark, but under the bench in the garage is good, under the BBQ cover, or a shady spot in the garden.  But not in a cupboard or a box, as you need fresh air around your mushroom kit. The preferred temperature range is 10 – 26 degree. So if you have frosts in your area, consider putting it inside somewhere. Cut off the top of the bag leaving about 1cm of plastic around the edge. Spray clean water into the opening. Keep the mushroom sawdust mixture just damp with twice daily sprays. Some suggest spray once in the morning and once at night, but don’t let your mushroom kit dry out.
If your growing mushrooms are looking wet, that’s too wet, so cut down on the spraying. When the mushrooms are ready for picking, remove the entire clump or group of mushrooms by cutting at the bottom of the stem.

King oyster mushrooms in grow bags Photo Wendell Smith via Flickr
This will then let the next cluster of mushrooms start to grow. Now you need to cut the plastic around the top of the bag opening down to about 12mm or ½ an inch from the top of the mixture. Fold the plastic in over the top of the mixture. It won’t stay completely folded, but that’s all right. Locate where the next group of mushrooms are starting to shoot from. Usually the area with most humidity on the top is where they’ll shoot from.
Lay the bag on its side with the new shoots at the top. Once you notice your mushrooms begin to grow they’ll double in size every day. Remember: spray daily, around the growth of the mushrooms to keep the mixture damp but don’t waterlog. After the first crop, you should get crops further crops every week or so. These are called flushes. You should get 3-4 flushes of mushrooms over 6-8 weeks.
King oyster mushrooms. Photo Two Helmets Cooking via Flickr
If your bag has gone a couple of weeks without growing, the suppliers recommend that you stick it in the fridge for a few days and then put it back into your growing area. Keep up the spraying. Store your collected mushrooms in a brown paper bag in the fridge. After a month or two the sawdust mixture and straw substrate is spent and it’s time to get another lot.

Cooked king oyster mushrooms Yum! Photo isue
Find out more and buy mushroom growing kits:
Australia – Forest Fungi
USA – Everything Mushrooms
UK – Mushroom Box
New Zealand – Mushroom Gourmet
South Africa – Funguys Gourmet


In all my gardening years, I have not thought once before about growing mushrooms. Maybe it’s because of my husband’s fondness for that terrible ‘Dad’s joke’ – I know that if I did, it would become daily event. Maybe I could try them in the shed, but there’s not mushroom inside. Oh dear, did I really say that?
A very interesting blog.
Great Pics of mushrooms.,
growing mushrooms does require a lot of hardwork.